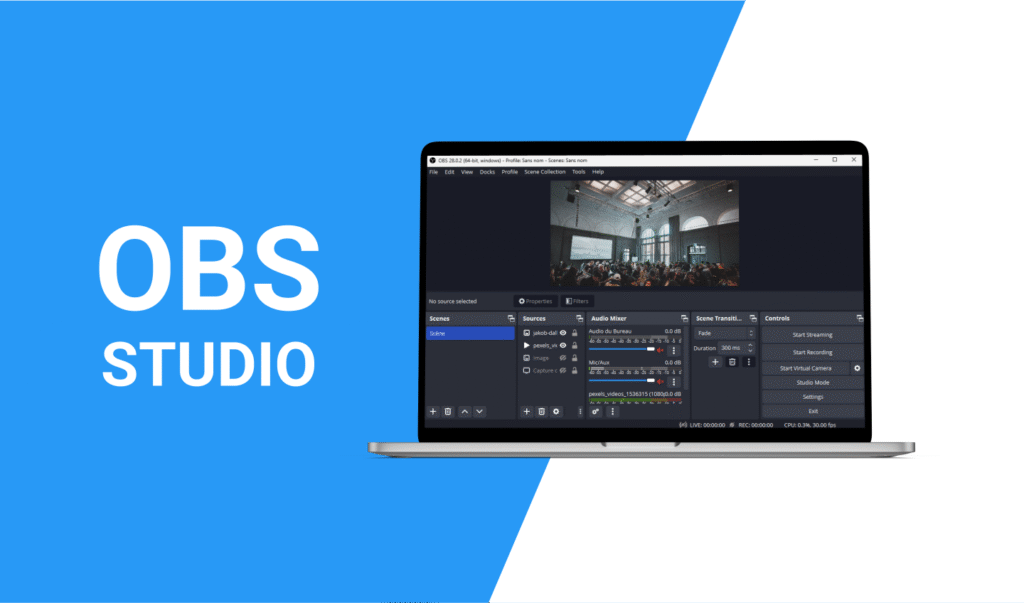
This OBS Studio Setup Guide walks you through everything you need to know about OBS Studio (Open Broadcaster Software), the free, open-source powerhouse for streaming and recording. Trusted by gamers, content creators, and professionals, OBS Studio lets you capture and mix audio/video sources—like gameplay, webcams, overlays, and browser windows—into polished streams or recordings. Unlike paid tools, it’s lightweight, supports Windows, macOS, and Linux, and integrates seamlessly with Twitch, YouTube, and other platforms. Whether you’re streaming a live concert, hosting a webinar, or showcasing gameplay, this guide will help you unlock OBS Studio’s full potential.
Why choose OBS Studio? It’s endlessly customizable. With features like scene transitions, multi-source layering, plugins, and Studio Mode (for previewing scenes), OBS adapts to your creative vision. Beginners love its intuitive interface, while pros rely on advanced tools like 4K streaming and HDR support. Best of all, its active community and frequent updates keep it ahead of industry trends.
Step 1: Download & Install OBS Studio
- Visit the official OBS Studio site and download the version for your OS (Windows, Mac, or Linux).
- Run the installer and follow the prompts. Use the Auto-Configuration Wizard during setup to optimize settings for streaming or recording.
Pro Tip: Choose “Optimize for streaming” if you plan to go live. For recording-only, select “Optimize for recording.”
Step 2: Configure Stream Settings
- Go to Settings > Stream and select your platform (Twitch, YouTube, etc.).
- Get Your Stream Key:
- Twitch: Go to Twitch Dashboard > Settings > Stream Key > Copy.
- YouTube: Go to YouTube Studio > Go Live > Copy stream key.
- Paste the key into OBS and click “Apply.”
Step 3: Set Up Scenes & Sources
Create Your First Scene
- Click the + under “Scenes” and name it (e.g., “Gameplay”).
- Add sources:
- Game Capture: For capturing full-screen games.
- Display Capture: To stream your entire screen.
- Video Capture Device: For webcam feed.
- Audio Input Capture: For microphone.
Example Layout:
- Game Capture (primary source).
- Webcam overlay in the corner.
- Alert box (see Step 5).
Step 4: Optimize Audio
- Add Audio Sources:
- Mic/Auxiliary Audio: For commentary.
- Desktop Audio: To capture game/app sound.
- Adjust levels in the Mixer (aim for mic audio at -12dB to -6dB).
- Use Noise Suppression (Right-click mic > Filters > Add Noise Suppression).
Pro Tip: Test audio with a short recording (File > Start Recording).
Step 5: Customize with Overlays & Alerts
- Download Free Overlays: Use sites like StreamElements or Nerd or Die.
- Add Overlays to OBS:
- Click + under Sources > Image or Browser Source (for animated overlays).
- Set Up Alerts:
- Use Streamlabs or OWN3D to create alerts for followers/donations.
- Add the alert URL as a Browser Source in OBS.
Step 6: Optimize Video & Bitrate
Video Settings
- Base Resolution: 1920×1080 (or your monitor’s native res).
- Output Resolution: 1280×720 (720p) for most streams.
- FPS: 30 or 60 (60 FPS requires higher bitrate).
Bitrate Recommendations
| Platform | 720p30 | 720p60 | 1080p30 |
|---|---|---|---|
| Twitch | 3000 | 4500 | 6000 |
| YouTube | 2500 | 4500 | 6000 |
Set Bitrate: Go to Settings > Output > Encoder Settings.
Step 7: Network & Performance Tweaks
- Use a Wired Connection: Avoid Wi-Fi for stable upload speeds.
- Test Upload Speed: Use Speedtest.net. Your bitrate should be ≤ 75% of your upload speed.
- Encoder Settings:
- NVIDIA GPU: Use “NVENC” encoder for minimal performance hit.
- AMD GPU: Use “AMD AMF.”
- No GPU: Use “x264” (requires a strong CPU).
Step 8: Go Live!
- Click Start Streaming in OBS.
- Monitor stream health in OBS (check for dropped frames or lag).
- Engage with chat using tools like Streamlabs Chatbot.
Troubleshooting Common Issues
- Dropped Frames: Lower bitrate or resolution.
- Laggy Gameplay: Limit FPS in-game or use NVENC encoder.
- No Audio: Check default devices in Settings > Audio.
Free Overlay Templates & Tools
- Streamlabs OBS: Pre-built themes and widgets.
- OBS Ninja: Add remote guests via browser.
- Visuals by Impulse: Free animated overlays.
